Along with the table list, OnsiteSupport provides an easy-to-understand and compact single view of customer requests. For more effective project management and support workflow, you can visualize tickets, chat conversations, and topics as separate cards in Kanban view.
First, you need to enable the Kanban Board in Administration » Applications.
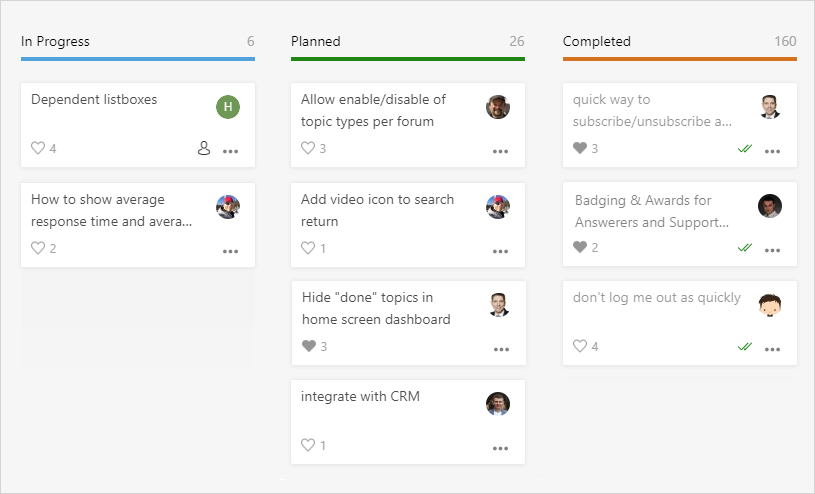
There are lots of reasons you may want to build Kanban boards:
- To create a public roadmap and share the plans of evolving your product or service with the community visitors;
- To share the internal product roadmap with stakeholders;
- To build a project plan with certain tickets or feature requests for development purposes so every member of your team knows exactly what you are working on at the moment;
- To use a to-do list in Kanban view for personal task management, etc.
In OnsiteSupport there are no limitations on the number of boards. You can add as many reports in Kanban view as you need based on your cases.
Access Control & Board Management
There are 2 types of boards in OnsiteSupport:
- Publiс - available only in the feedback system and lets your company share product roadmap with all community members.
- Private - can be built either on tickets and topics for internal purposes. Only support agents can see private boards depending on the agent team's permissions.
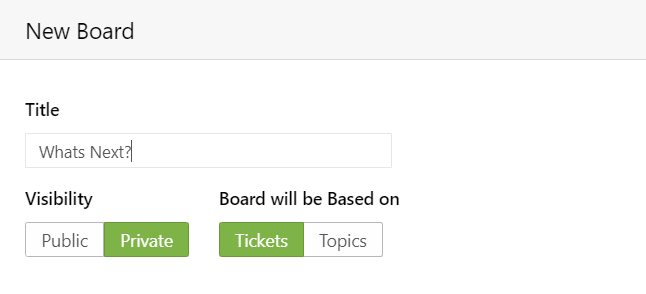
By default, only Administrators of the system can manage all the boards. That could be changed for other teams in Menu » Users by creating a new team and assigning a support agent to it. Agents with "Manage Reports" permission can create boards for other support staff.
Create New Board
In order to build your own custom report:
- Click plus icon in the upper left of the Inbox and select Board.
- Specify board visibility for topics. Please keep in mind that boards based on tickets are always private ones and accessible only in the agent interface.
- Set a specific number of conditions based on custom fields, your custom workflow, and business requirements.
- Set board availability and change edit permissions if needed.
- By default, all requests on the board are grouped by status but you can set another grouping parameter from the list or even create a custom one.
You can select a certain field to represent a custom column workflow. For instance, you want to display 3 columns in your roadmap - long-term, mid-term and short-term plans. Just choose Custom Columns, give the titles for each column and assign required statuses or categories for them.
You can either save the report to be used later on a frequent basis or just Run it for getting one-time results.
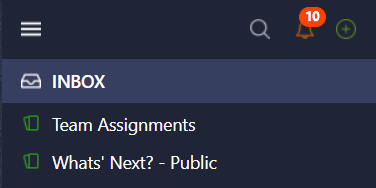
Boards in the agent interface are available in the reports section with a card icon.
If it's a public roadmap, please go to Administration » Interface » Home Screen:
- Activate the Roadmaps tab at the top of the screen so it can be accessed by users on a separate page;
- Add Kanban widget to the home screen to share your plans with the customers right on the main forum page.
Columns & Priorities
- Automatic column assignment - all requests are grouped by a custom field, status, responsible, or another property you set. Once status or property is changed, this request will get into another column of the board automatically;
- Manual column assignment - agents can use the simple drag and drop feature to change the current status or another request characteristic the report is grouped by;
- Vertical order in columns - reorder requests by priority for the team to see what is more important to work on or feature that should be done first from the list;
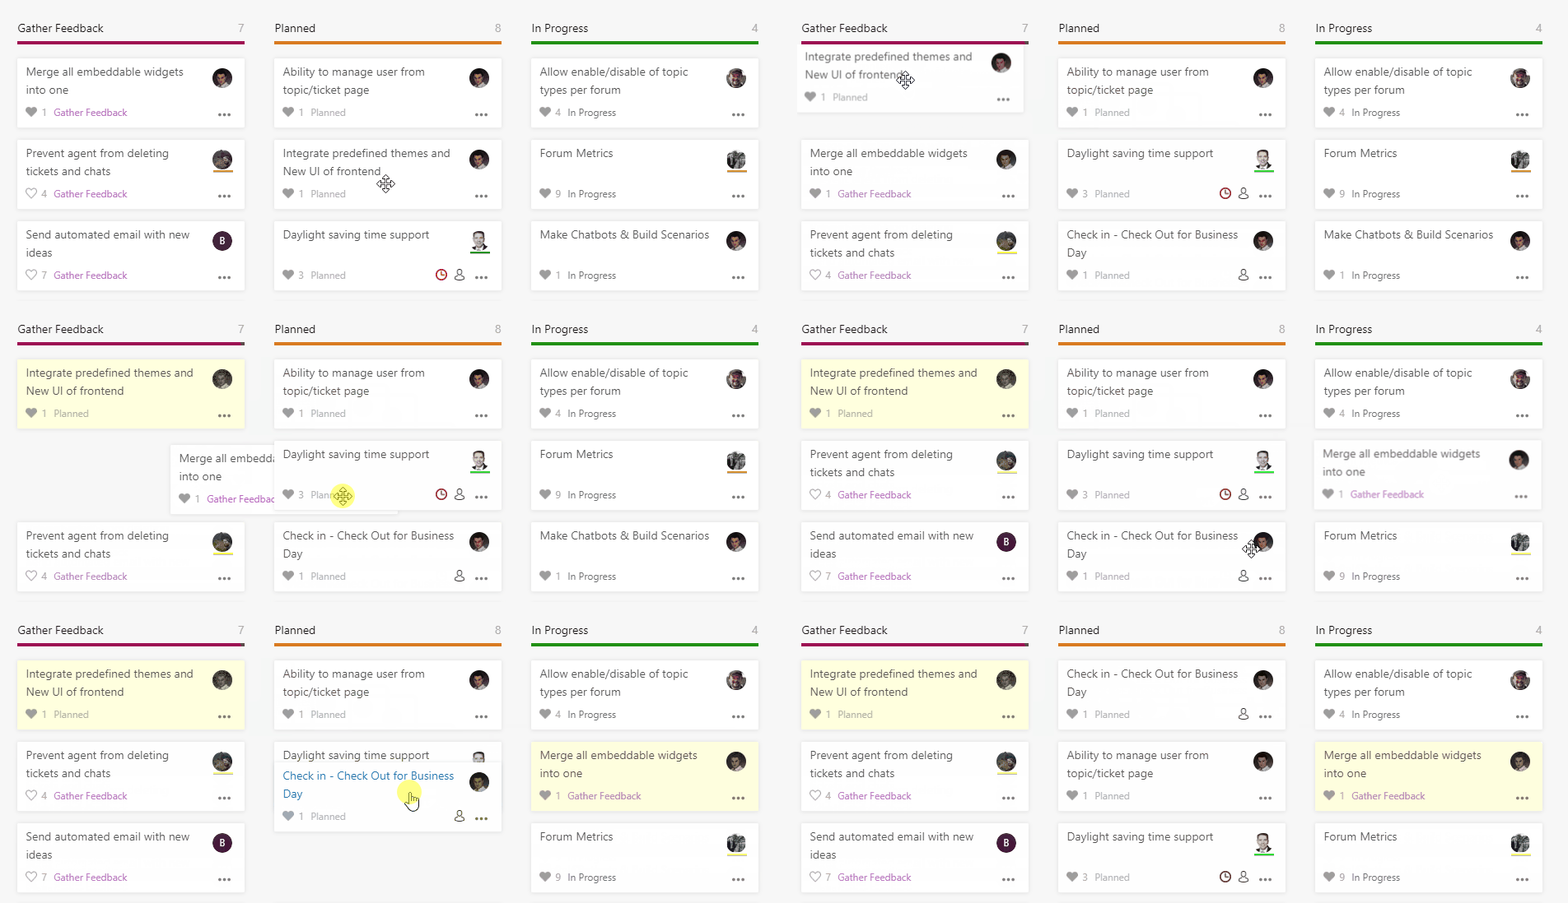
- Each card provides the options to edit the request, complete it, reassign to another agent and move to trash.
Progress Tracking
Progress bar in Kanban view gives the total understanding for your customers how many features should be implemented to complete the roadmap.
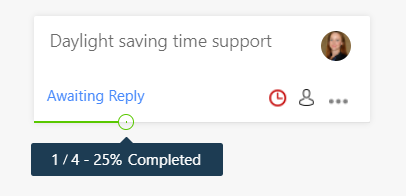
In case you divide the feature request into sub-tasks for project management purposes, the system will calculate the percentage of the progress bar based on task completion.


