
As Onsite helps you better manage all your customer queries in one place, this guide would help you set up Onsite Support Icon within WooCommerce so your customers can reach out to you.
To begin with, we will copy the Live Chat Code from Onsite Support so the Support Widget will appear within WooCommerce.
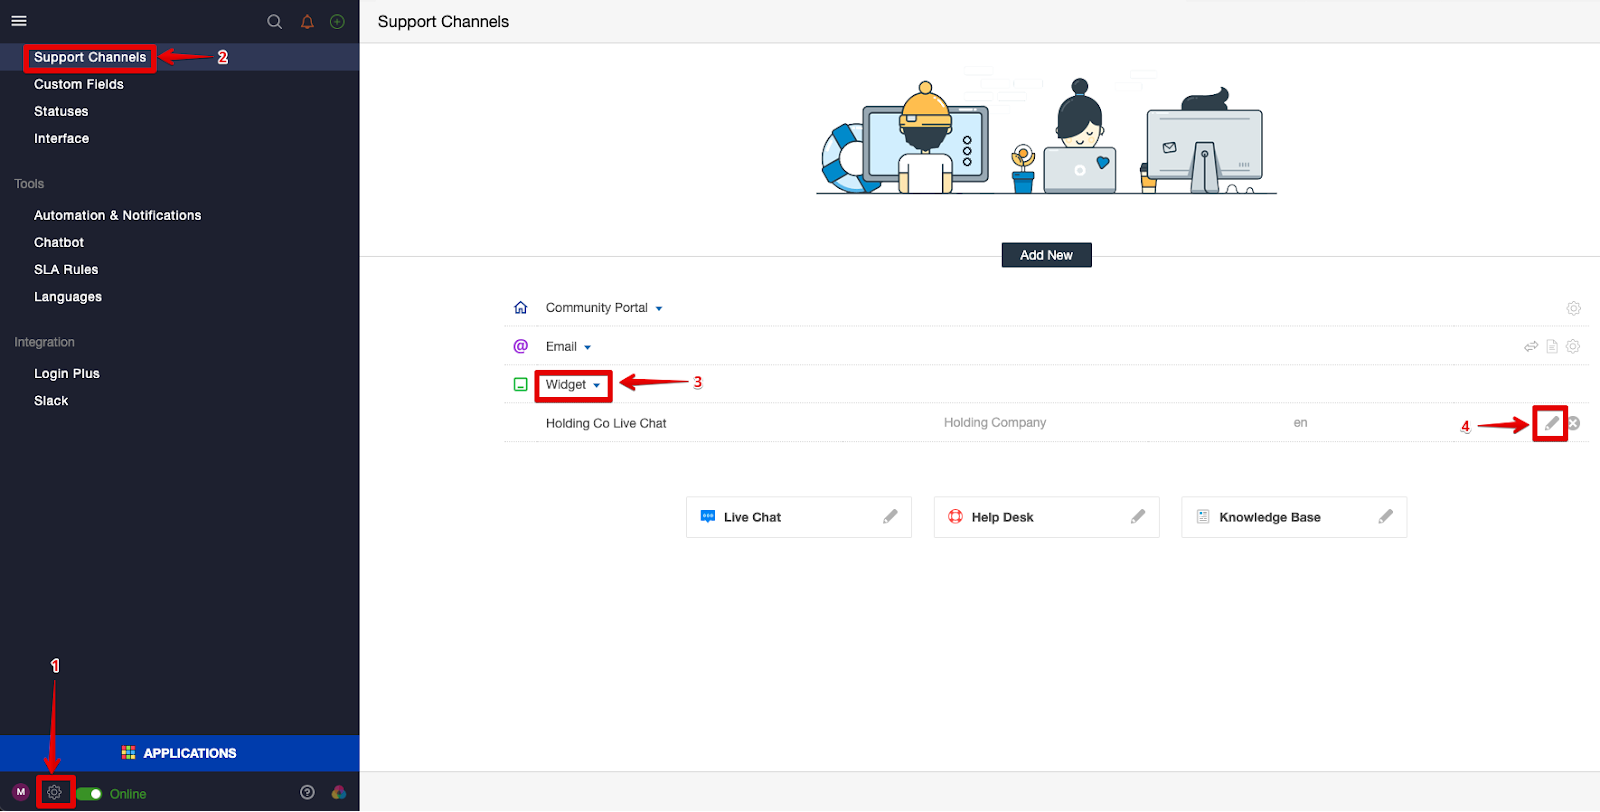
Please follow the steps below within Onsite to copy the code:
- Click on Administration (Setting Gear Icon)
- Click on Support Channels
- Click on Widget
- Click on the Pencil Icon for the Live Chat within Widget
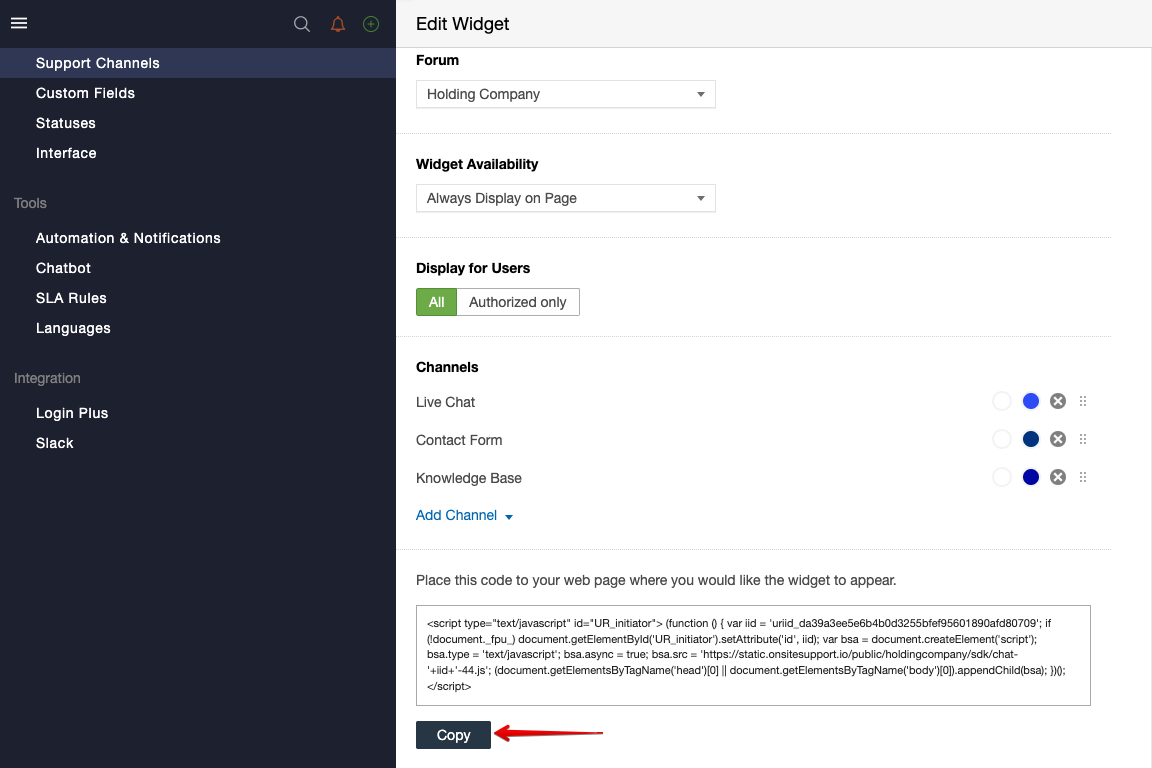
You’ll arrive at the Edit Widget page. Please click on Copy from the first code that’s available.
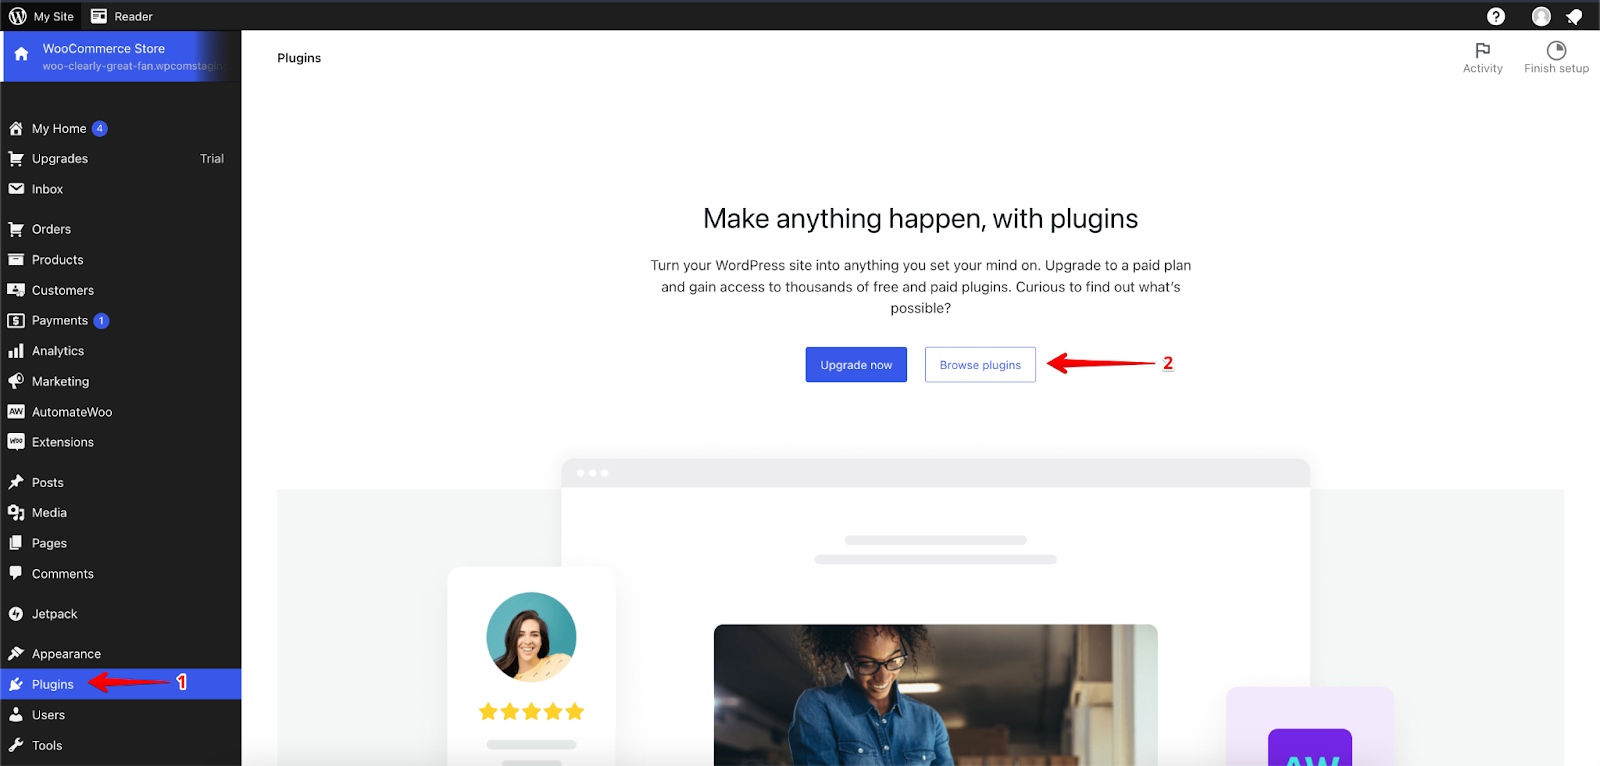
Once the live chat code has been copied, please Log In to your WooCommerce Account and follow the steps below:
- Log into your Wordpress Admin > Click on Plugins.
- Click on Browse Plugins
The WordPress Plugin page would appear. Please Search for Code Snippets and click on WPCode.
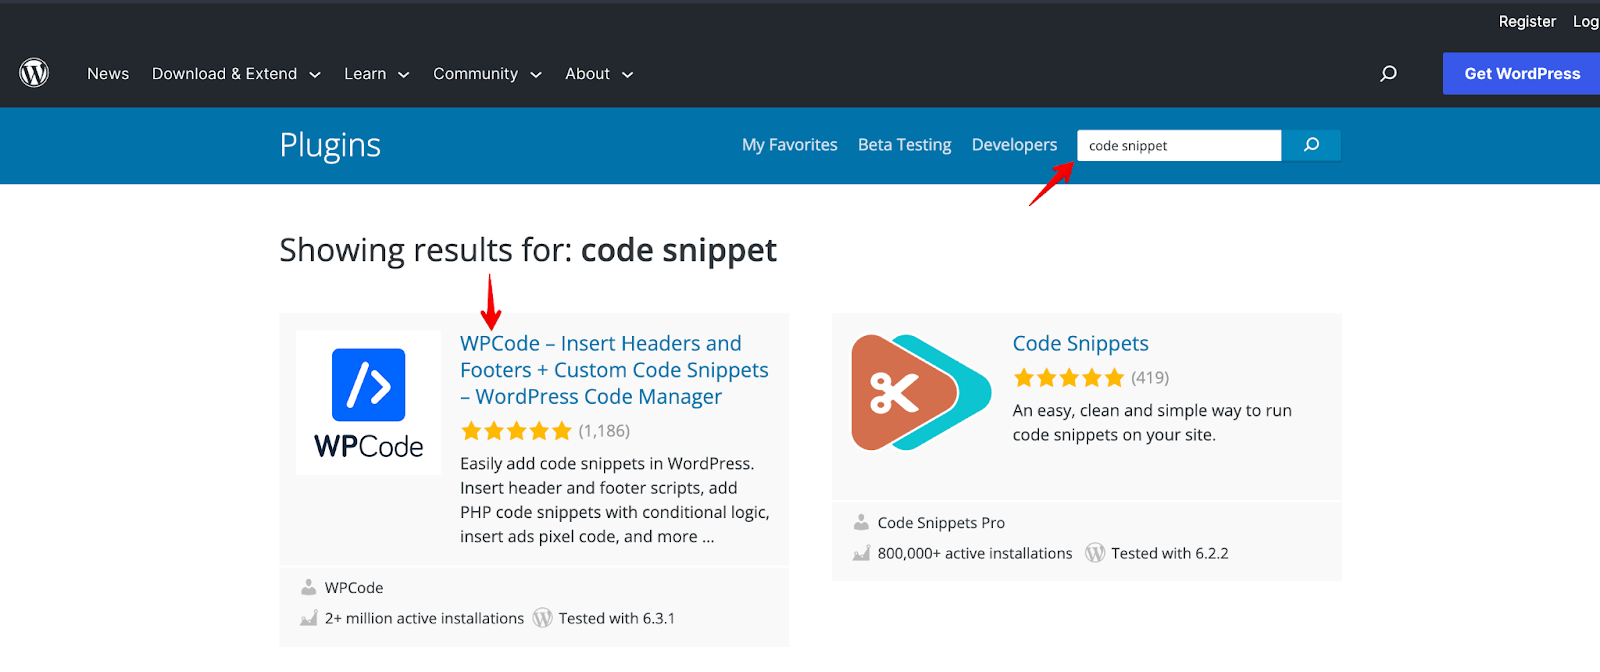
Once done, please Install the Plugin under Code Snippets and then Activate the plugin.
Once done, please follow the steps below:
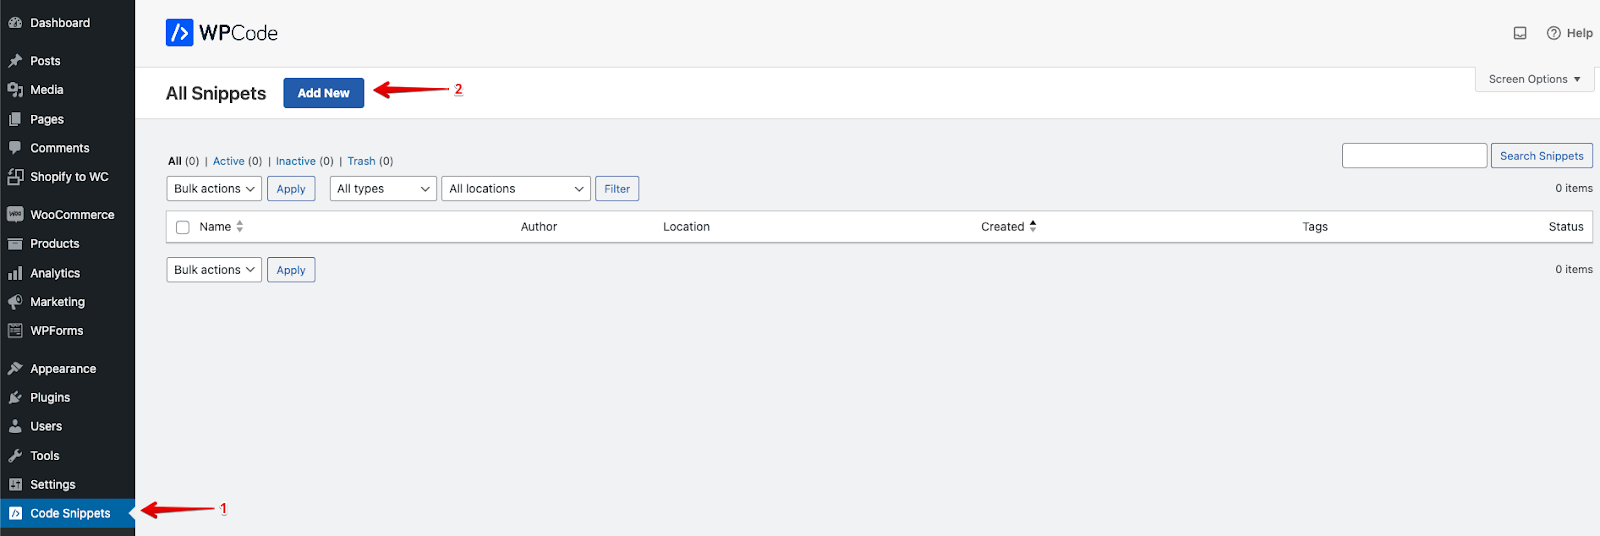
- Click on Code Snippets
- Click on Add New
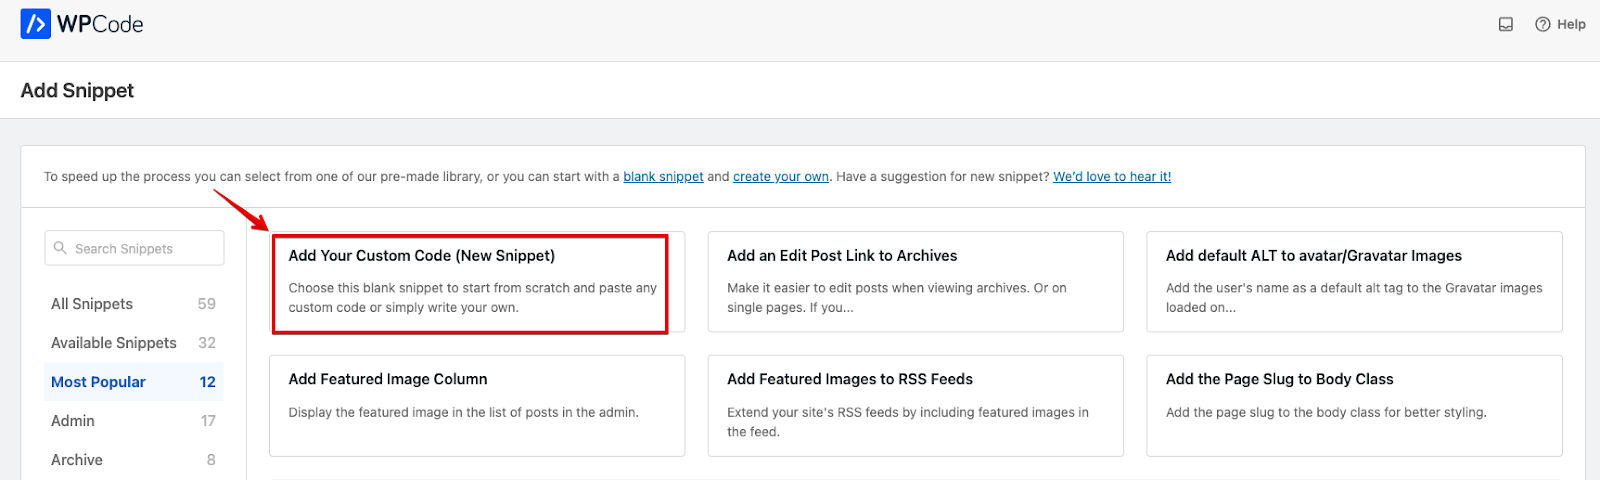
Click on Add Your Custom Code (New Snippet)
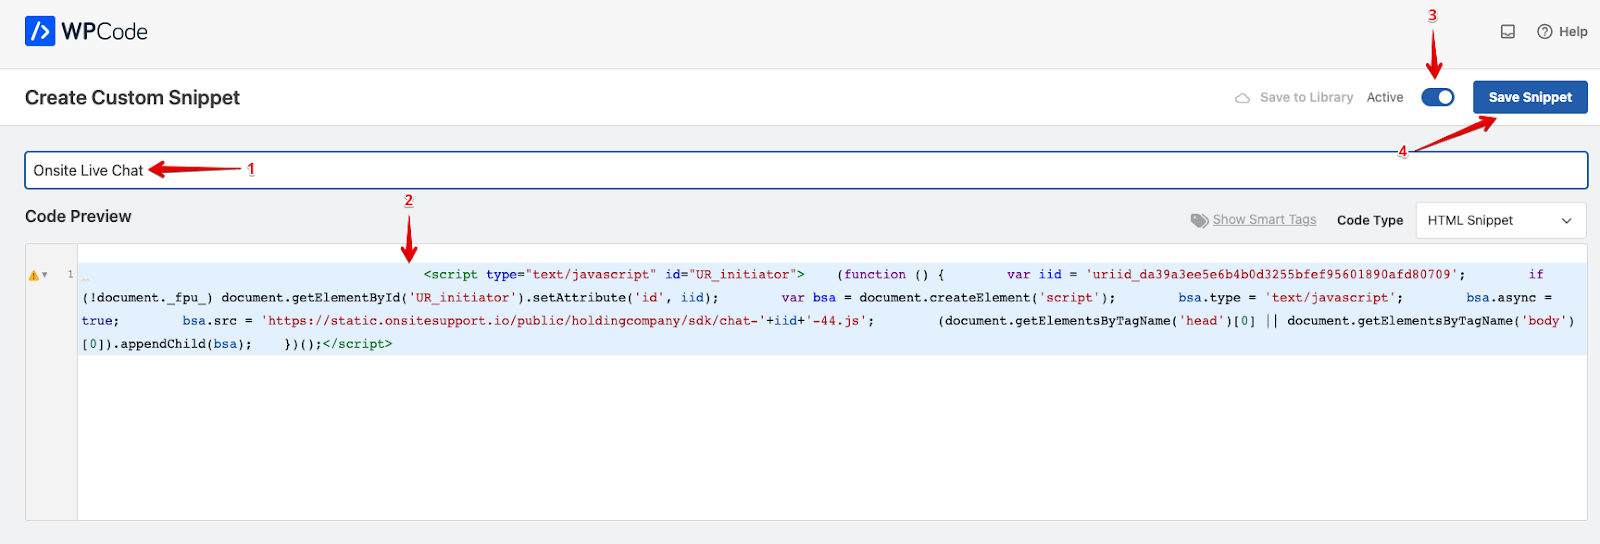
Once done, please follow the steps below:
- Add title for snippet
- Paste the Code within Code Preview
- Enable the Snippet
- Click on Save Snippet
This would enable you to receive all Support Queries from WooCommerce within your Onsite Support Helpdesk.
If you have any questions at all, please feel free to reach out to us by sending an email at support@onsitesupport.io.