By setting an "Alias" and changing agent's avatar, the agent can control what the client sees during interactions. The client will only see nickname and avatar, which helps maintain anonymity and enhances communication.
Note: You need Agent permissions in Onsite to perform these actions.
How to Set an "Alias"?
Alias is an agent's nickname that is displayed in all communications with the client. Instead of seeing your real name, the client will only see your nickname.
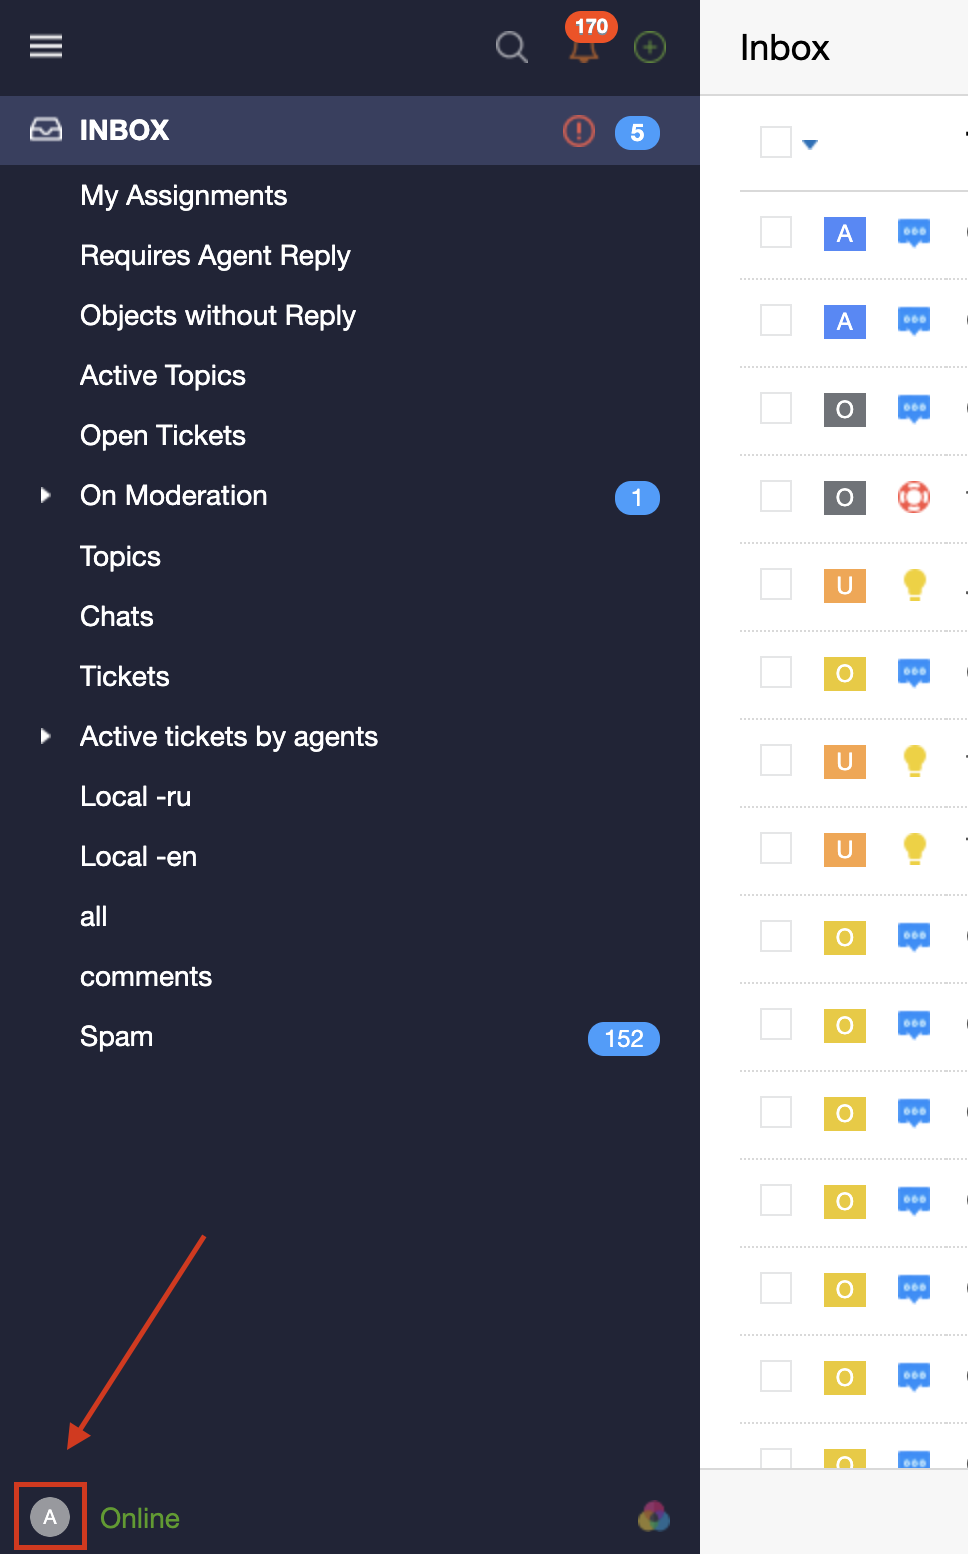
1. Go to the Agent's Profile:
- Open your agent profile in the system.
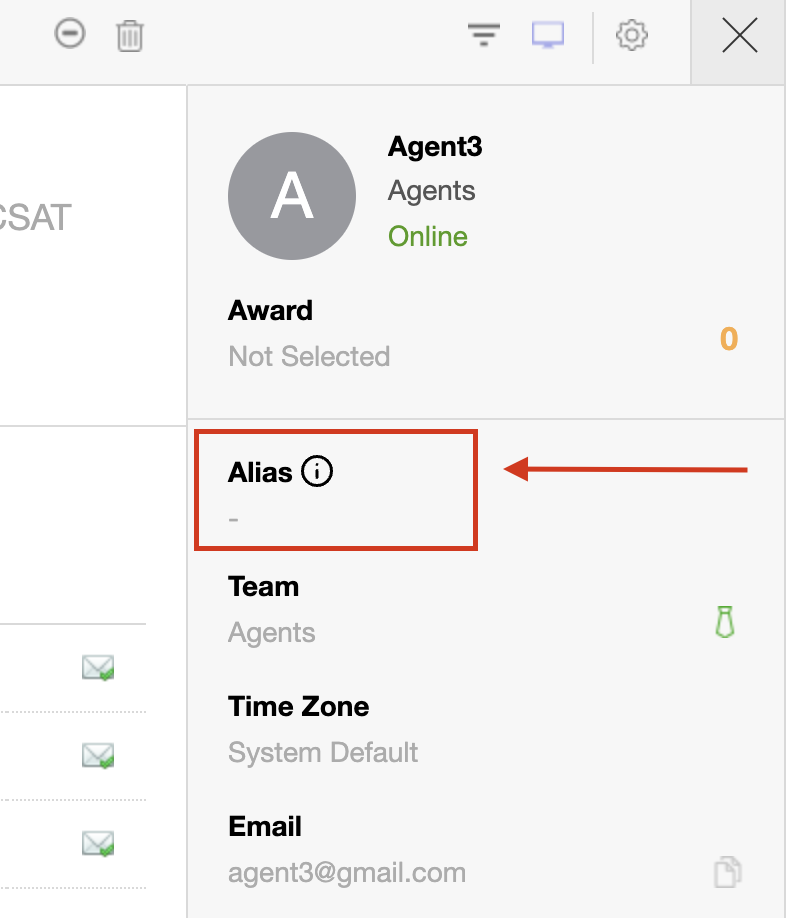
2. Find the "Alias" Field:
- In the agent's profile, locate the field designated for entering a nickname.
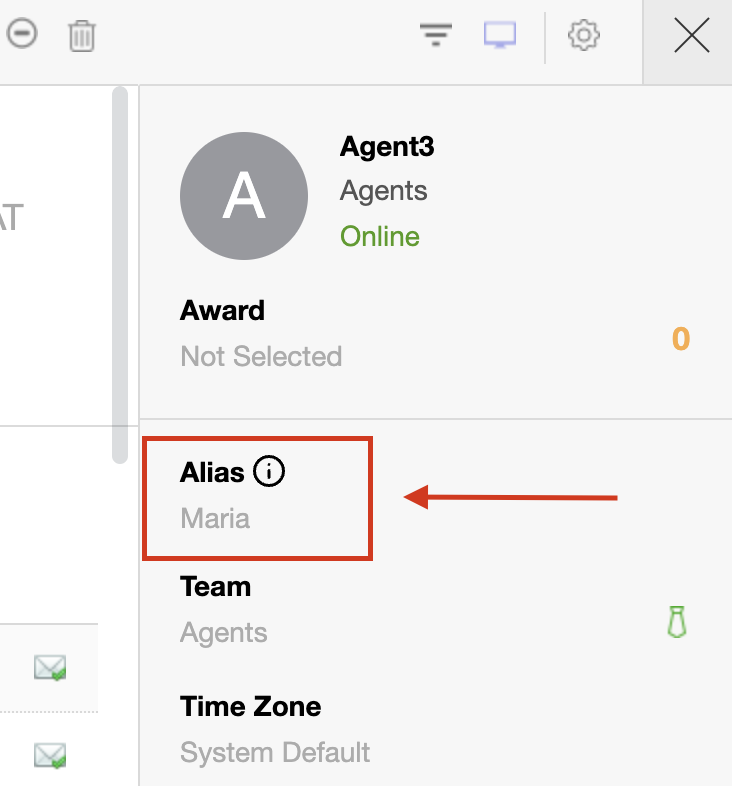
3. Enter Your Nickname:
- Enter your desired nickname in the "Alias" field
4. Save Changes:
- Click the "Submit" button to apply the changes
How It Appears to the Client?
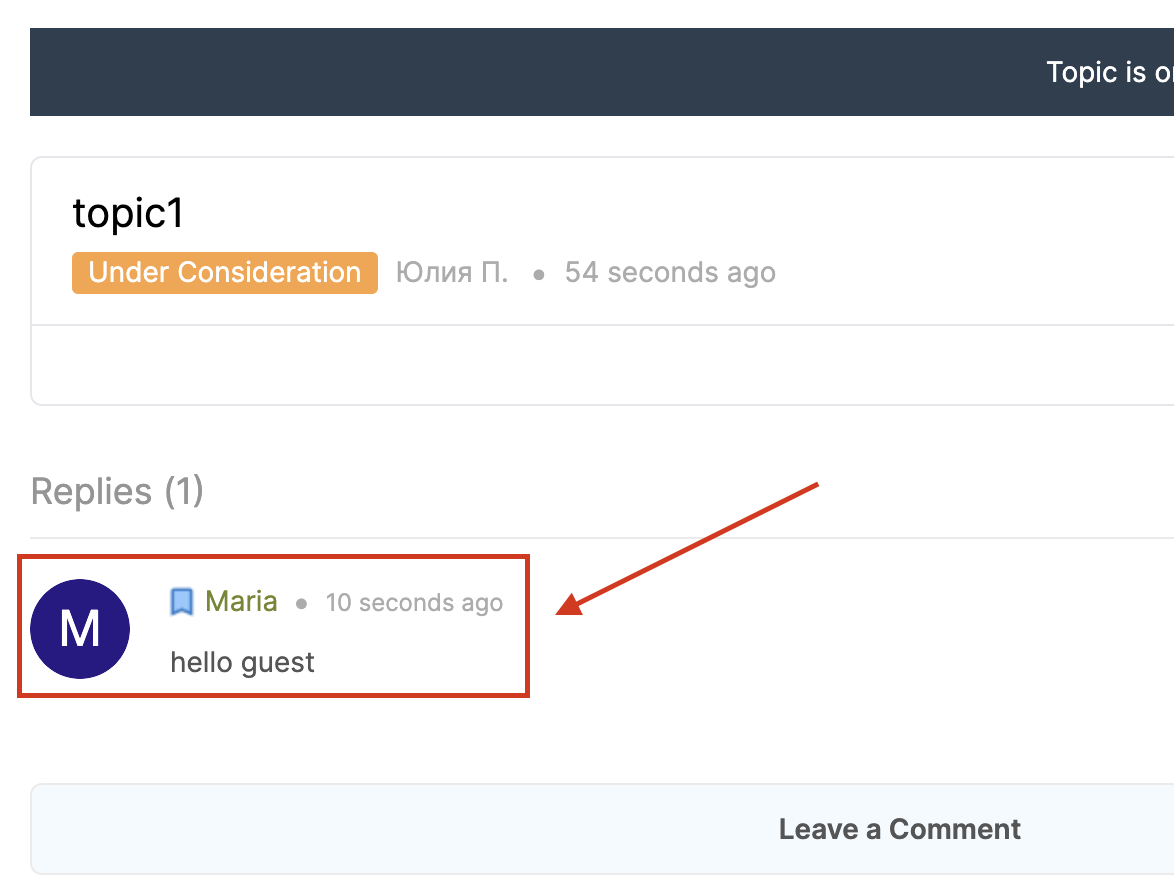
Once you have set and saved your nickname, the client will only see your nickname in all communications.
- Chats
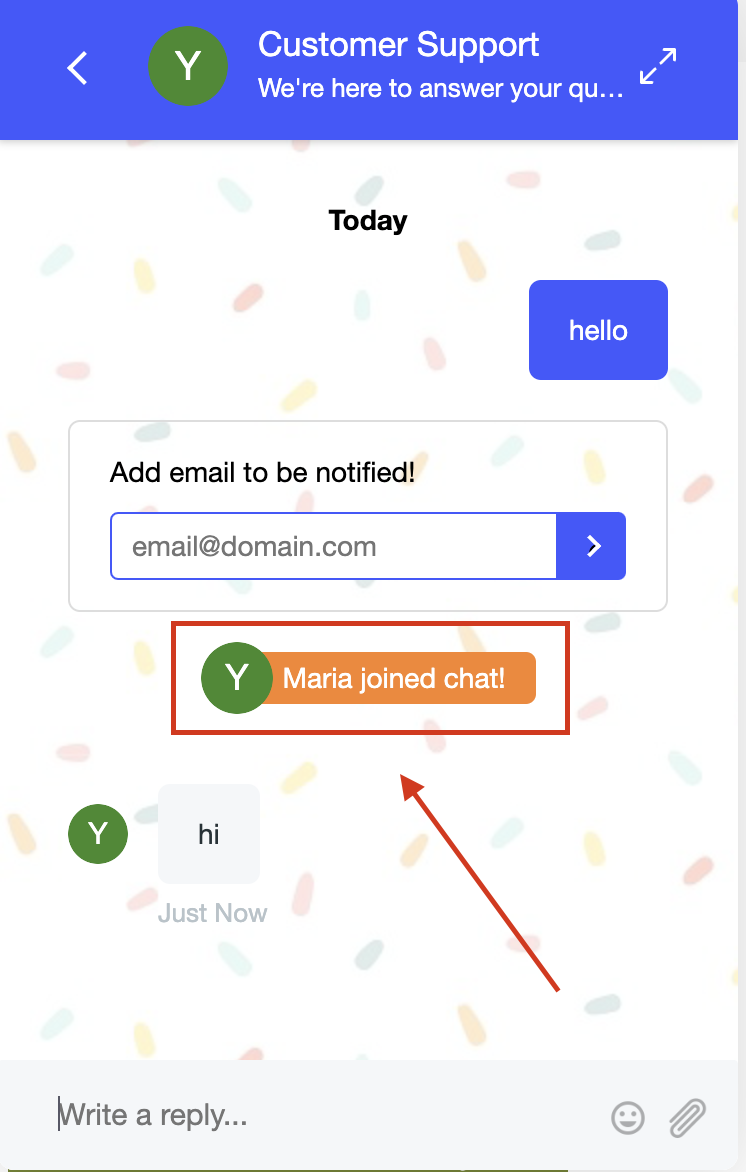
- Customer Portal
How to Change Agent's Avatar?
1. Go to the Agent's Profile:

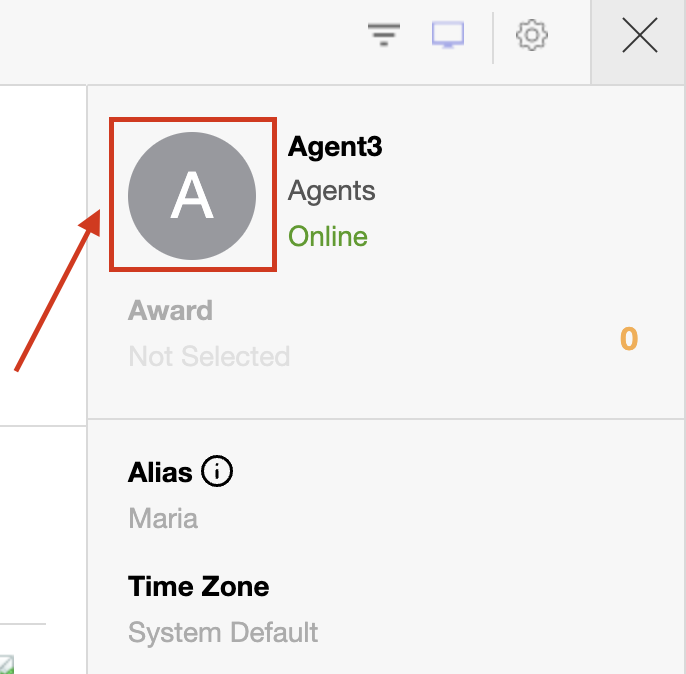
2. Press on "Avatar":
3. Upload a New Avatar:
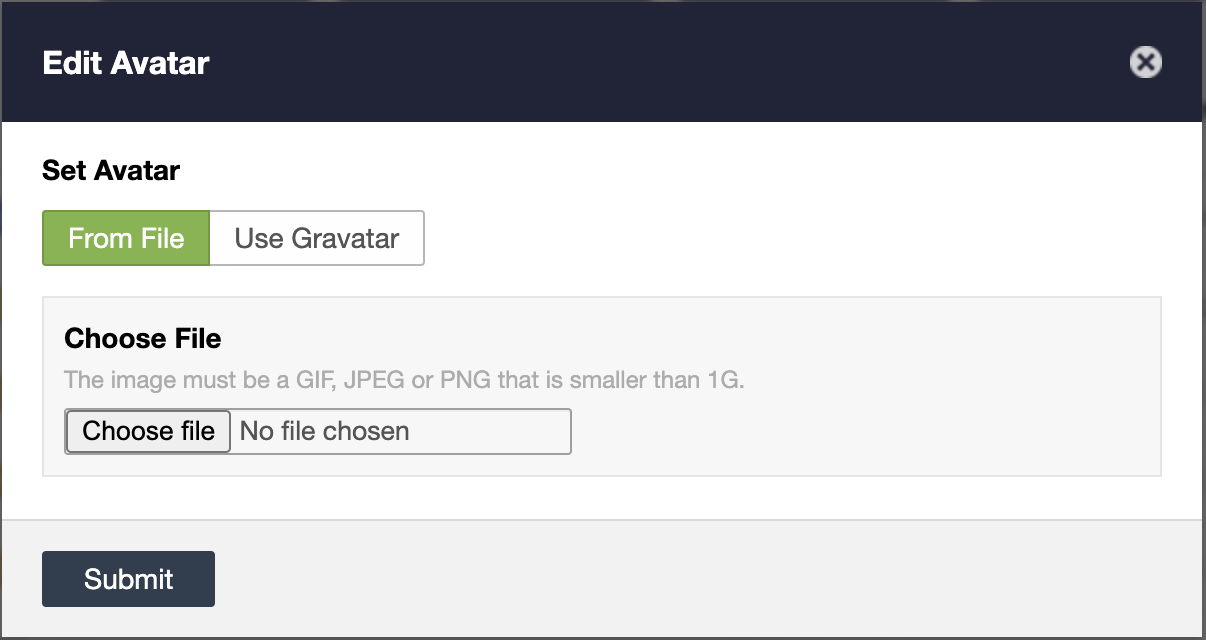
- Select and upload a new avatar or Use Gravatar
4. Save Changes:
- Click the "Submit" button to apply the changes.
Summary
By setting an "Alias" and changing your avatar, the agent can control what the client sees during interactions. The client will only see your nickname and avatar, which helps maintain anonymity and enhances communication.


